Making Sauerkraut with FarmSteady's "Kraut Kit"
I have had an interest in gardening as long as I can remember, even though Im not very good at it. Some of my earliest memories involve my grandfather in North Dakota working on his garden, and of our family enjoying the fresh tomatoes and other produce that was grown in it. My parents, especially my dad, also did a lot of gardening when I was a child, and my dad still does. My thumb isnt quite as green, but I keep trying to grow a garden each year, and Ive tried to teach the importance of gardening to my own children; I have had some success in this with at least two of them. The tradition of working with the land runs quite deeply in my family, back through Montana, North Dakota, Ukraine, Germany and Alsace. It produces some of the best, most wholesome food that a person could ask for on this earth, and it is virtually free! All one has to do is invest a little time and effort.
Hand-in-hand with gardening is food preservation, part of the ancient ritual of putting food up for lean times, be they winter, famine or some other adverse condition. When gardening, there is an added factor of surplus food to be dealt with; there is often more fresh, perishable food grown than one can eat in the limited time that it is available before it spoils. There are many ways to go about this, and virtually any food can be preserved - even milk, in the form of cheese and other products. With modern (and not-so-modern) innovations, food preservation methods include freezing, canning and other practices; however, before those technologies were developed, people engaged in other food-preservation methods such as dehydrating, curing
.
...and fermentation - in this case, lacto-fermentation.
It is not my intention or desire to give a Chemistry lesson on the process of lacto-fermentation, but here is a brief summary as it relates to food preservation:
From
http://www.culturesforhealth.com:
Fermentation is as old as life itself. At some point, humans learned to guide the process to repeat especially tasty results. These processes have been handed down and passed around, creating beloved foods and national dishes. The most familiar fermented foods are made using lacto-fermentation.
Most people think about beer or wine when they hear the term fermentation. While certain yeasts are used to convert the sugars in grape juice or grains into alcohol, it is bacteria that are responsible for lacto-fermentation. The lacto portion of the term refers to a specific species of bacteria, namely
Lactobacillus. Various strains of these bacteria are present on the surface of all plants, especially those growing close to the ground, and are also common to the gastrointestinal tracts...of humans and other animal species.
Lactobacillus bacteria have the ability to convert sugars into lactic acid. The Lactobacillus strain is so named because it was first studied in milk ferments. These bacteria readily use lactose or other sugars and convert them quickly and easily to lactic acid. However, lacto-fermentation does not necessarily need to involve dairy products.
Lactic acid is a natural preservative that inhibits the growth of harmful bacteria
. Beyond preservation advantages, lacto-fermentation also increases or preserves the vitamin and enzyme levels, as well as digestibility, of the fermented food. In addition, lactobacillus organisms are heavily researched for substances that may contribute to good health.
http://www.culturesforhealth.com/learn/natural-fermentation/what-is-lacto-fermentation
The website referenced above appears to be a great resource for learning more about lacto-fermentation; I know that I certainly plan on spending more time browsing around there. For further, more in-depth reading, it would be worth your time to follow the links above; additionally, if anyone has other links to post on the subject, they are encouraged to so do.
Even though lacto-fermentation is a preservation method that is practiced around the world, for whatever reason - rightly or wrongly - I have always associated it in my mind with Germany and Eastern Europe; in particular, I have associated it with pickling cucumbers, peppers...and cabbage. As we all know, lacto-fermented cabbage is (drumroll, please) sauerkraut, a very good and healthy food that is a time-honoured staple in the regions Ive mentioned, as well as many others.
A few years ago, I tried making some home-made sauerkraut, using a method outlined in an old newspaper clipping that we found in the recipe files of the Slovak grandmother of The Beautiful Mrs. Tas. Here is the forum post relating to that find, if anyone is interested:
http://foodsoftheworld.activeboards.net/quick-and-easy-homemade-sauerkraut_topic1349.html
Both my #2 son, Mike, and I have used this method to make decent sauerkraut; I have no complaints about it, but in the back of my mind, Ive always wondered if it was the best way to go about it, especially where food safety is concerned.
Not long after, Rod Franklin did an outstanding pictorial on the concept, complete with a lot of really good information:
http://foodsoftheworld.activeboards.net/sauerkraut-wars-a-new-tutorial_topic1350.html
Id highly recommend reading his thread; not only is it packed with a plethora of knowledge, it is also very good, interesting reading!
Anyway, last year, I discovered a line of do-it-yourself food kits from FarmSteady:
http://farmsteady.com
FarmSteady was founded by Erica and Stephen of Brooklyn Brew Shop:
www.brooklynbrewshop.com
I was already very familiar with their brewing products, as well as their contagious enthusiasm for these kinds of DIY food projects. At the time, these kits included pretzels, bagels and various fresh cheeses, so I scooped up one of each and have been working my way through them.
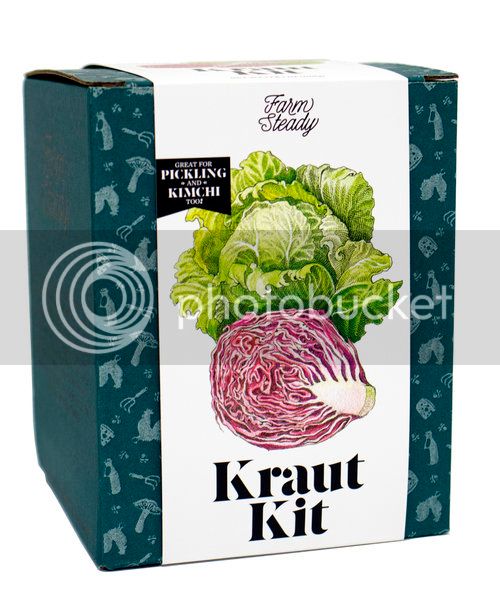
Then, just recently, they released three new kits; among them was a kit for making home-made sauerkraut, as well as other lacto-fermented foods:
http://farmsteady.com/shop/kraut-kit
Here is the blurb, from the FarmSteady page:
Discover the joys of fermenting your own food with a batch of kraut. It's easy to make and packed with nourishing probiotics. Along with the included equipment all that's needed is a fresh head of cabbage. The equipment is all reusable so you can keep experimenting with different krauts, kimchis, and lacto-fermented pickles!
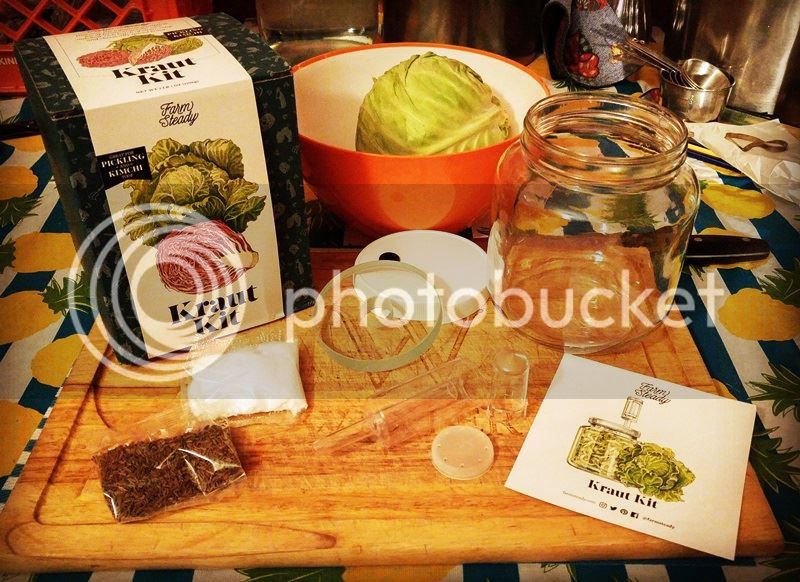
The kit comes with everything you need, except the cabbage itself:
1/2 Gallon Glass Fermenting Jar
Glass Fermentation Weight
Lid with Airlock
Glass Writing Pencil
Kosher Salt
Caraway Seeds
If you add up the components of the kit, it might be a little over-priced, but as Ive said before on other threads, I dont care. I am very happy to support this endeavour; to me, the education, experience, convenience and the inspirational get-it-done enthusiasm that come with the kit are worth it. On top of that, the folks at FarmSteady (and Brooklyn Brew Shop) are very accessible, and always ready to answer questions or provide feedback regarding ongoing projects. They take a genuine interest in the progress that their customers have, and I cannot count the number of times that they have truly been excited and happy to see someones efforts come to fruition. To me, things like this are worth paying a little more, and I will continue to support them for it.
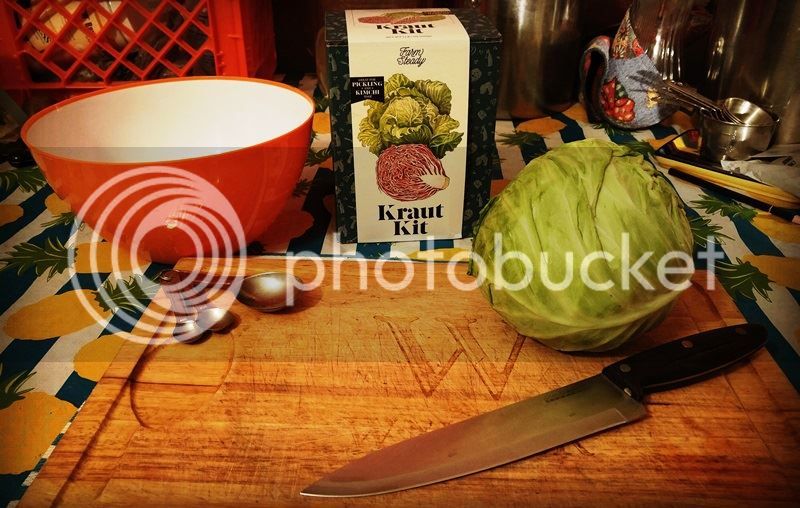
With all of this in mind, I wasted no time ordering a Kraut Kit, as they call it, and eagerly awaited its arrival; my enthusiasm was pretty high, and I found myself actually tracking the progress of the shipping, which is something I normally dont do. On the expected delivery date, I went to the local grocery and bought the biggest head of cabbage that they had at the time, which was about 2.35 pounds, or just a bit over a kilogram. Unfortunately, the post office was closed by the time we got home, so I had to wait until the next day to pick it up.
That same evening, 2 May 2017, I began the process of making my sauerkraut, using this kit, which I think is pretty cool. Before getting started, I read (and then re-read) the instructions, which can be found here:
http://farmsteady.com/instructions-how-to-make-kraut
The following photos and commentary will summarize and dovetail with those instructions.
Here is a list of all the equipment that you will need, including the components of the kit:
Large Mixing Bowl
Fermentation Jar
Fermentation Weight
Lid
Airlock
The only other equipment that you might want are a wooden spoon to stir the cabbage with and something to tamp the sauerkraut down with as you pack it into the jar; however, these are not totally necessary, and there can be much satisfaction found in doing this work with your (clean) hands. If you are like me, you will also need measuring spoons and a liquid measuring cup; I am not good at eye-balling things, and I generally like to have a measurement to use as a reference point, even if I dont follow it.
Oh, yes - you will also need a good, sharp knife, for slicing the cabbage. If you have a mechanical slicer or a mandoline that can slice cabbage, so much the better; but there is something very satisfying and old school about slicing it by hand.
Moving along, heres the short list of ingredients for making some good, old-tyme sauerkraut with this kit:
1 Medium Head of Cabbage
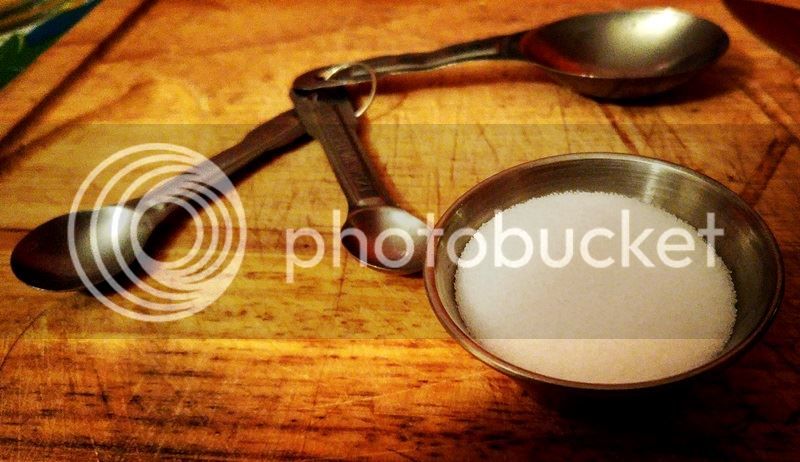
1.5 Tablespoons Kosher Salt
1 Tablespoon Caraway Seeds
For this first attempt, I omitted the caraway seeds; but in the future, I plan to use them. There are, of course, many, many other ingredients that can be added just for sauerkraut alone, not to mention other fermenting projects. It seems to me that - with few exceptions - one could let his or her imagination go wild when it comes to this. One goal for the future is to add some chopped hot chiles.
Lets get started, shall we?
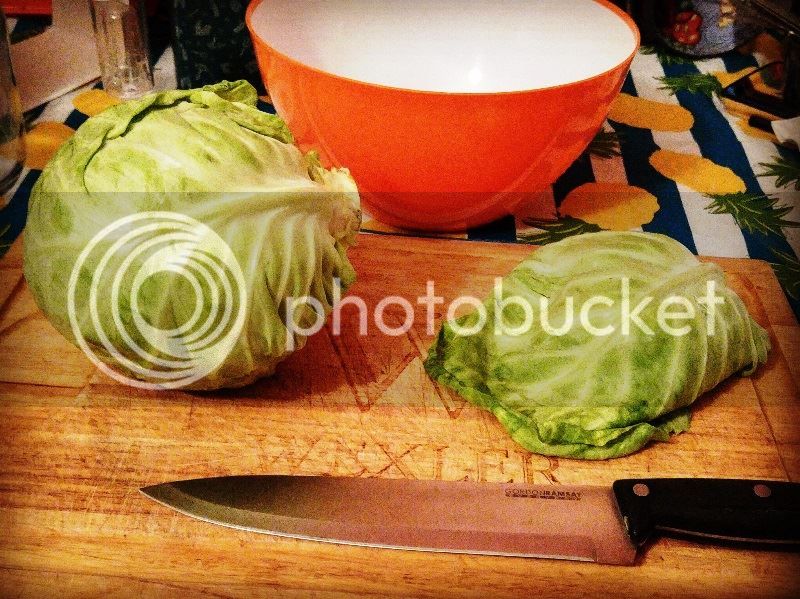
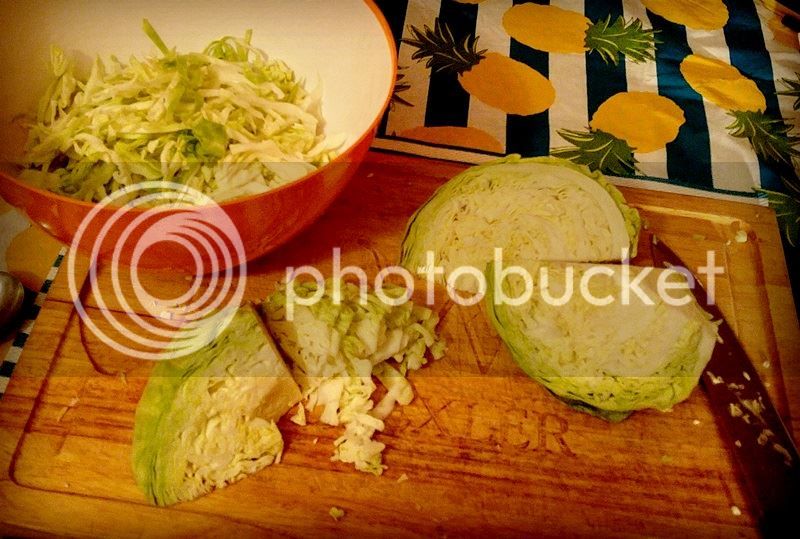
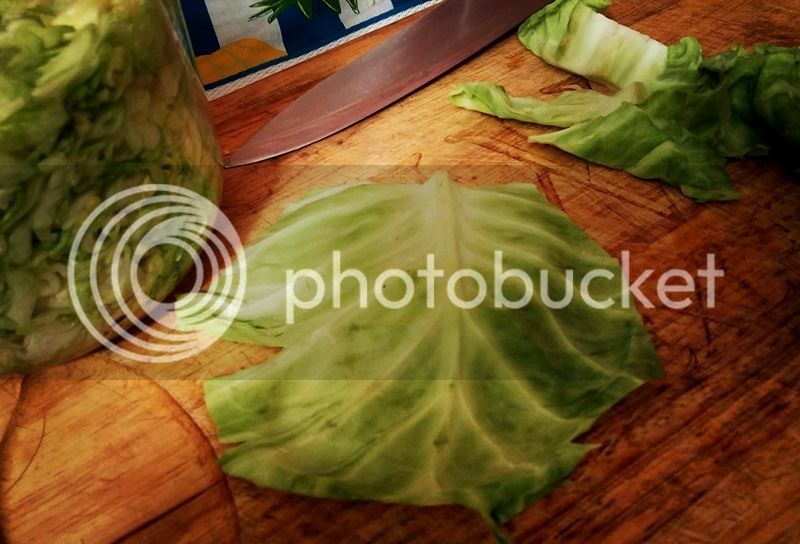
First, I removed and discarded any damaged or wilted outer leaves; with this particular head of cabbage, this wasnt really a problem. I also took care to reserve one large leaf, which will be used later.
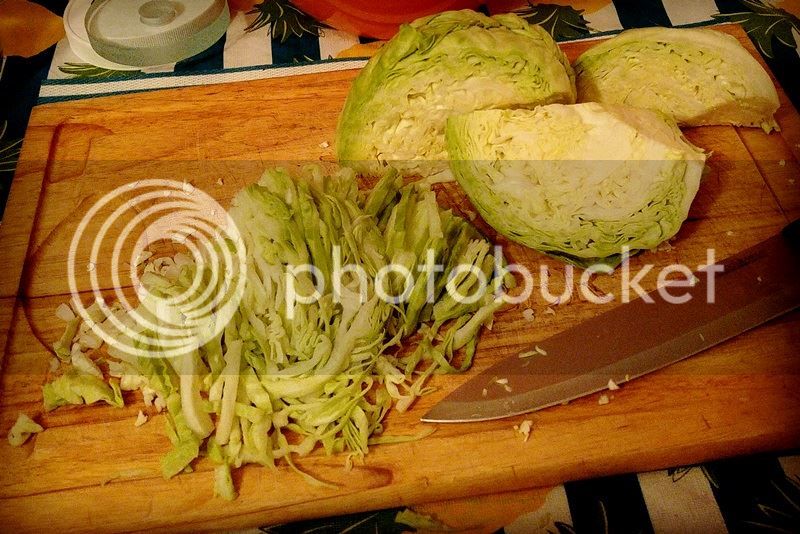
Next, I quartered the cabbage and cut out the core from each quarter:
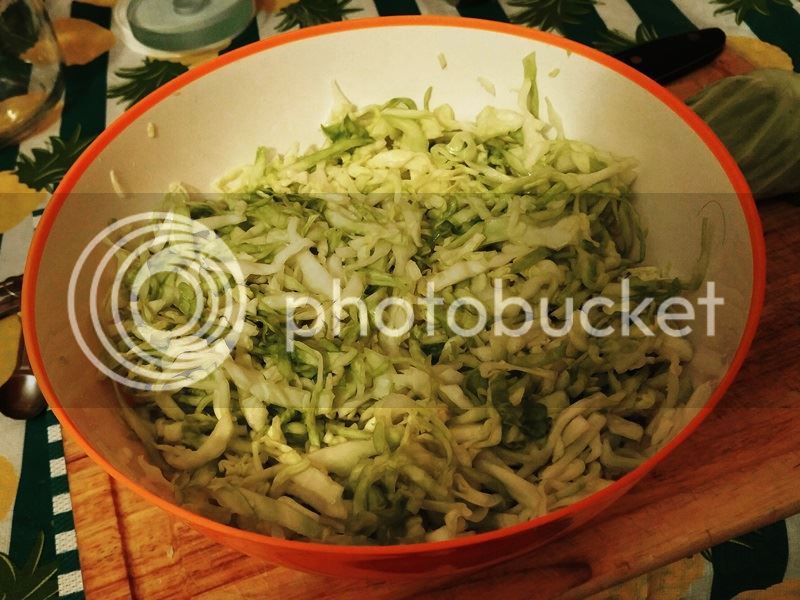
I then cut the quarters of cabbage into thin ribbons:
Its amazing how much results from a seemingly small head of cabbage!
Here we are, all sliced and ready to proceed:
Now comes the fun part!
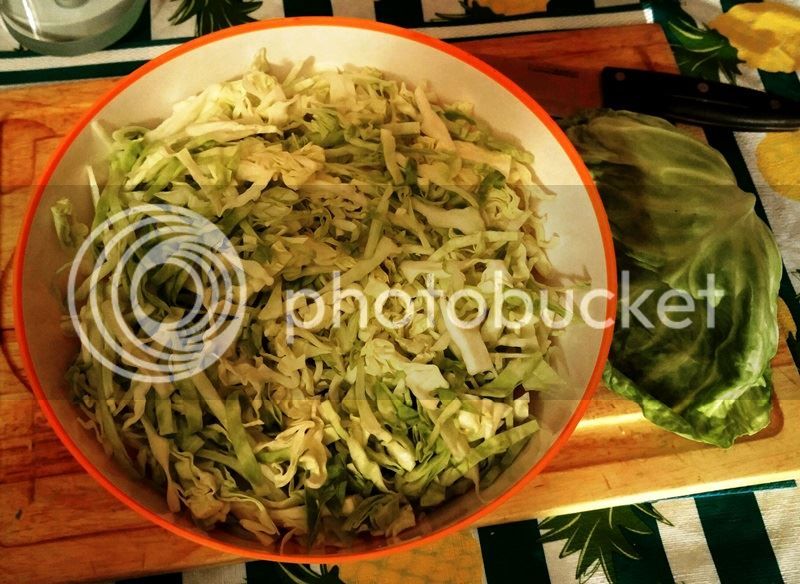
Add your salt to the shredded cabbage; there is probably an exact ratio by weight, but for those of us who are less precise, it seems to be about half a tablespoon per pound of the original head of cabbage.
Next, you need to mix the salt and the cabbage; this can be done with your hands or by tossing it around with a wooden spoon. The idea is to massage the salt into the cabbage, so that it (the cabbage) softens and releases its liquids, which will be instrumental in the fermentation process. With this in mind, dont be afraid to show both the cabbage and the salt who the boss is, in this regard. The next time I do this, I plan on not being quite so gentle as I was this time; indeed, this sauerkraut-making thing might be rather therapeutic, I think, but its all good.
This process will probably take about 8 to 10 minutes; you will know when you are finished because the cabbage juice will start to pool in the bowl, and the cabbage shreds will drip when you squeeze them. The cabbage will have also wilted quite a bit:
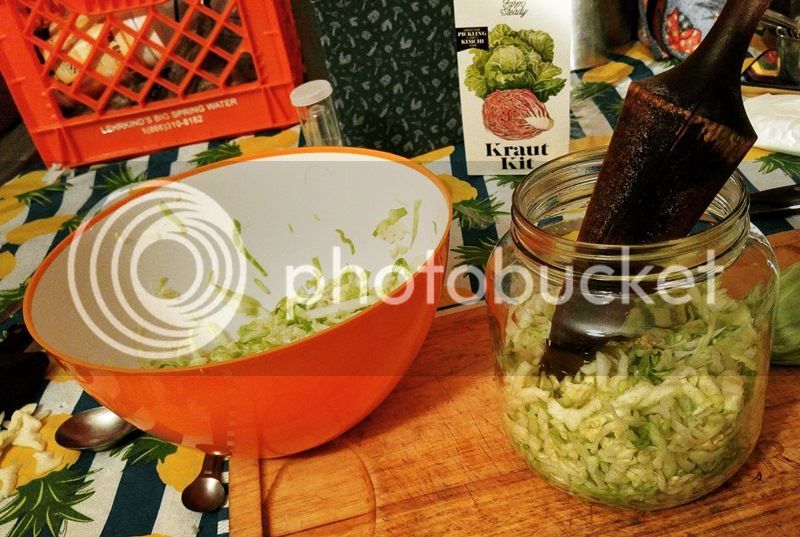
If you are using caraway seeds, now would be the time to add them to the mix and combine them; FarmSteady suggests 1 tablespoon per batch of sauerkraut; if I ever use them, Ill probably cut that amount in half, at least the first time.
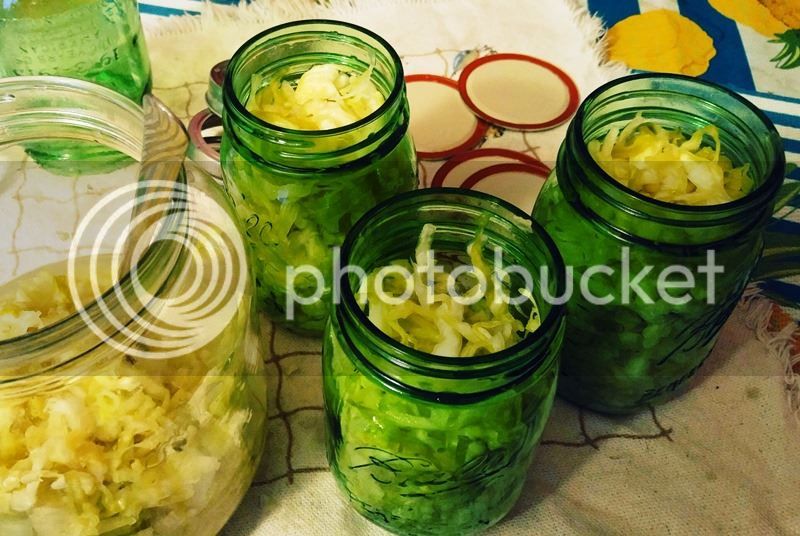
Moving along, pack your cabbage into the fermentation jar; once again, theres no need to be gentle when doing this.You want to pack the cabbage tightly, pressing it down and squeezing more liquid out. This can be done by hand, or with any utensil that will help tamp the cabbage down. I used this wooden pestle from a cone-shaped strainer/juicer commonly used for making jelly:
Once all of the cabbage is packed into the fermentation jar, be sure to add any liquid left in the bottom of the bowl before proceeding to the next step.
Speaking of the next step, this is a part that I personally found to be really cool; it seemed to me to reach pretty far back into the art of sauerkraut making, and as simple as it was, I really enjoyed it.
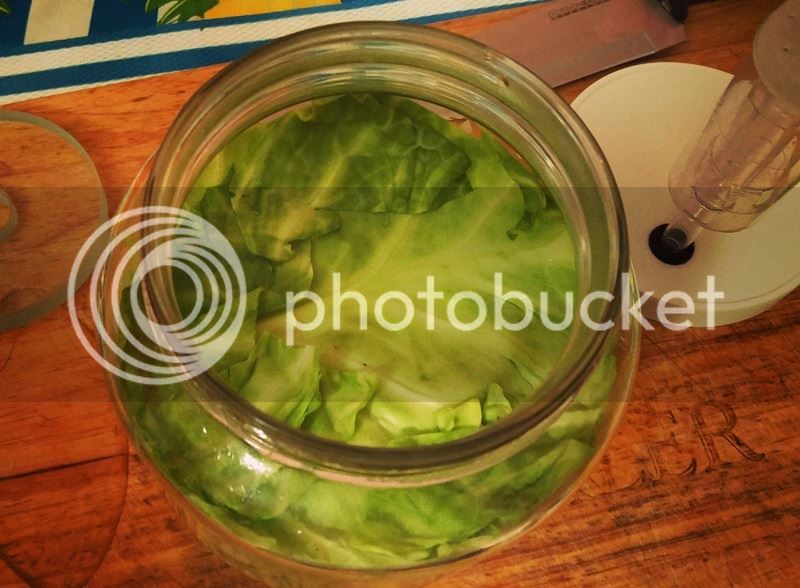
Remember that large cabbage leaf that we reserved, way back when we began this project? What you need to do is to trim that leaf into a circle, using the the base of jar or the lid as a guide. If its a little larger, thats okay, too.
Next, place your cabbage leaf circle on top of the packed cabbage; here, you can see that I used a bit of the trimmings to cover a spot where the cabbage leaf had split:
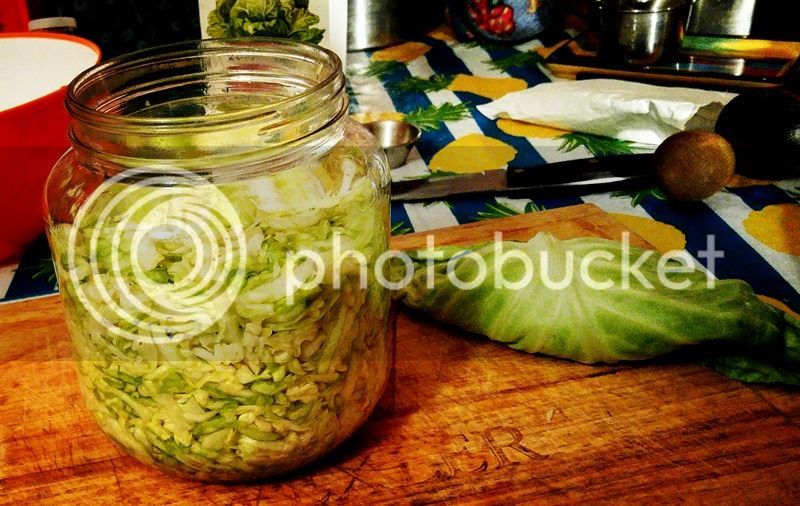
By the time you have completed this step, you want to make sure that the packed cabbage is completely submerged in the liquid that has been released from the cabbage. If there is not enough liquid, you can make a brine consisting of 1 teaspoon of salt dissolved in 1 cup of water, and add as much as necessary to cover the cabbage. Because I was probably too gentle with my cabbage, I did end up adding some brine; that wont be the case next time, but it all works well, either way.
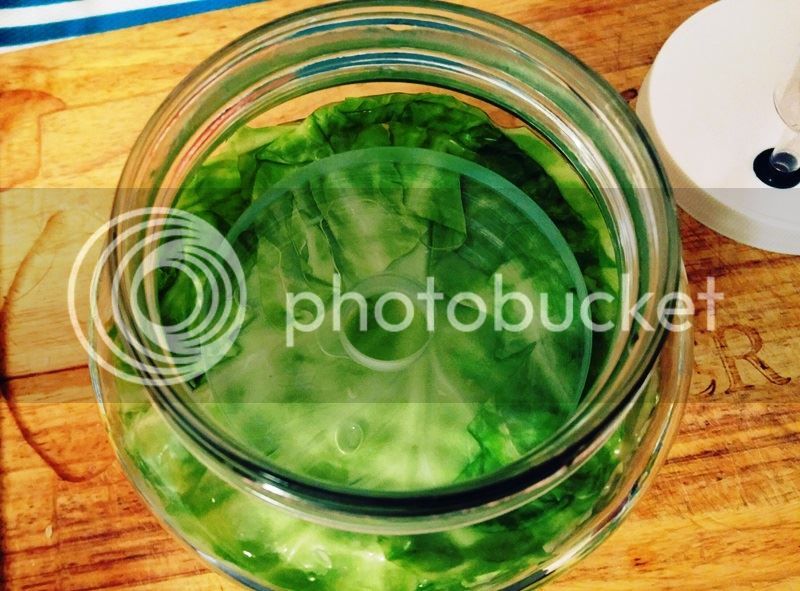
Next, add the fermentation weight that comes with the kit:
This holds everything down and keeps the cabbage submerged; it ensures an anaerobic environment so that the good bacteria can work without any harassment from the bad bacteria.
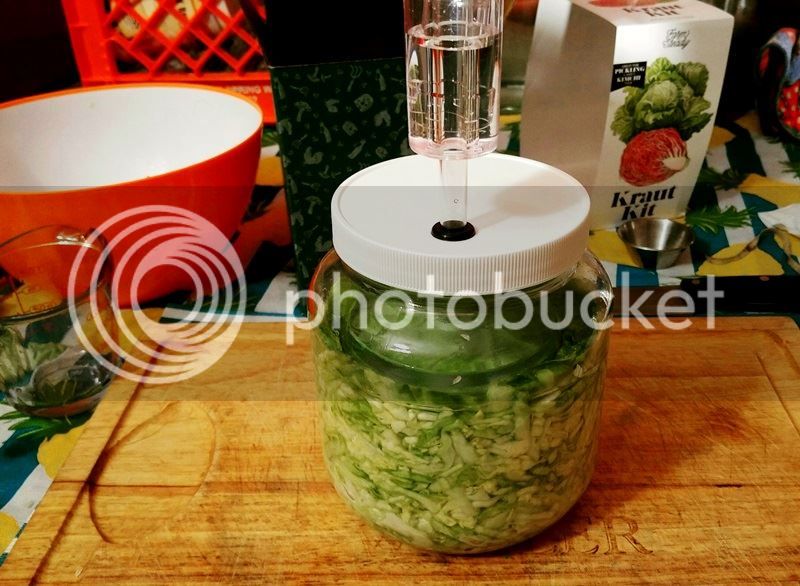
Finally, screw the lid onto the fermentation jar, fill your airlock up to the line with water and insert it into the lid:
If you want to, you can use the glass writing pencil (my dad would call these grease pencils) to mark the date that you began the sauerkraut.
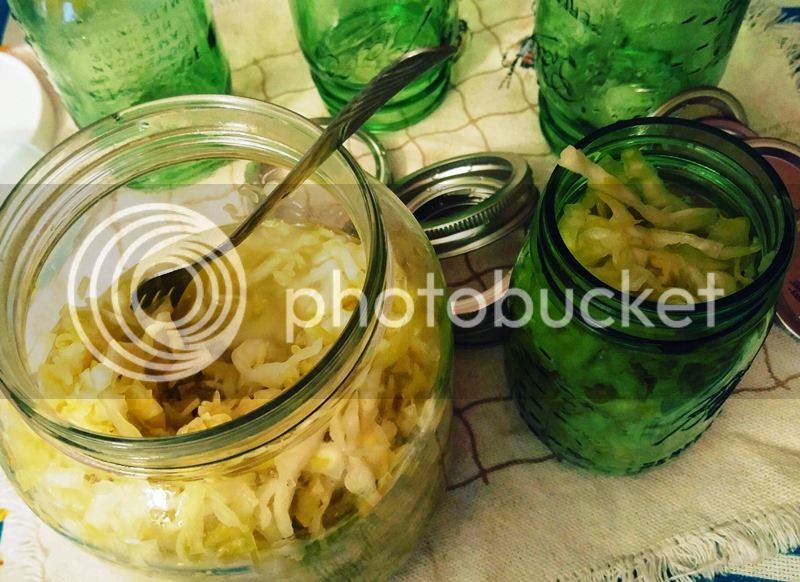
Thats pretty much all there is to it! All you need to do now is to put the jar someplace out of direct sunlight, where it can ferment for 7 days. This time might need to be extended, if the temperatures are a bit low; I will do some research and see if I can find some good visual indicators that show the progress of the sauerkraut.
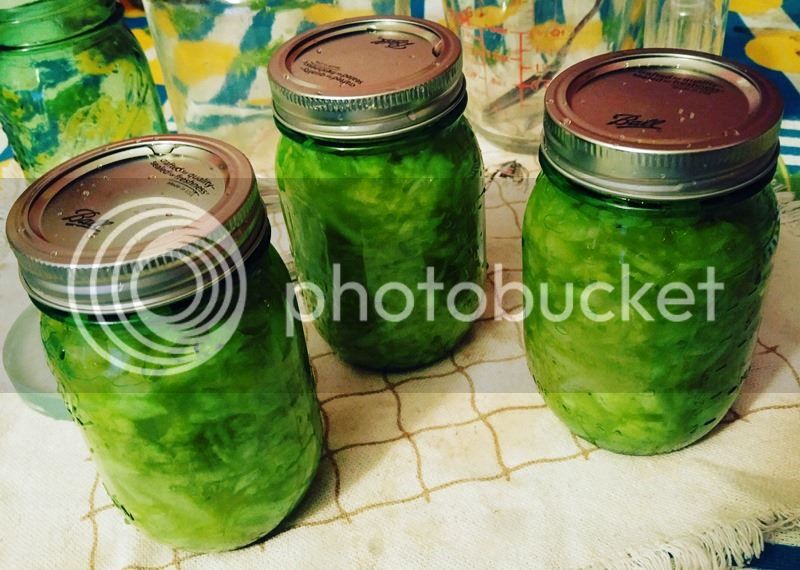
Once your sauerkraut is fully fermented, it can be enjoyed fresh; any surplus sauerkraut can be packed into jars and kept in the refrigerator for up to 2 months, according to FarmSteady. Alternately, you can also process the finished sauerkraut in a boiling water bath for 15 minutes, or in a pressure canner according to the manufacturers instructions; you will lose some of the fresh crunchiness, but the flavour will all be there.
I hope you enjoyed reading about this project as much as I enjoyed doing it; I also hope that you learned a few things and are inspired to give this a try, with or without the kit. I will continue to post my progress as this project continues, and will note any significant happenings. My guess is that this sauerkraut project will only be the beginning of some great things; I am already looking forward to lacto-fermented dill pickles, peppers and possibly even some Korean Kimchee. If anyone has any questions, comments or other feedback, please feel free to post them here, and I will be sure to reply.
Enjoy!
Ron